


Chapter 4
The 10-step checklist to create a usability testing plan
Most successes start with a plan, and usability testing success is no exception.
Usability testing enables you to test designs with real users efficiently. A usability testing plan allows you to integrate the usability testing process with other project development operations for a seamless product design process.
Undergoing usability testing without a plan is a dangerous game—one that can lead to aimless research, never-ending projects, and pointless analysis. Making a plan adds another step to the usability testing process, but it's key for ensuring your usability research is organized, productive, and insightful.
Let’s start with the basics.
What is a usability testing plan?
A usability testing plan is an overview of the steps you’ll take and methodologies you’ll use when conducting usability testing. It includes details on the aims and goals of the research, the required participants and methodologies, the approach to analyzing results, and the desired outcomes and next steps.
Your usability testing plan requires you to take a closer look at all of these details in order to get an accurate overview of the project. You can expect to include details such as:
- Aims and goals: outline why you’re conducting the research and what you’re looking to achieve. How does this support your product development goals?
- Test participants and methodologies: include information on the specifics of who and how. Do you need to recruit lots of user testing participants? Do two or three suffice? Do you need a physical space or can research be conducted online? Are you card sorting? Maybe you want to test prototypes? Perhaps you’re also conducting interviews? Be specific here—it’ll save you time further down the line.
- Analyzing results: how are you going to derive insights from your research? Will you collect quantitative or qualitative insights? Will you need to transcribe recording sessions or interviews? How many researchers are involved in the analysis?
- Outcomes and next steps: finally, include details on what happens next. How will your outcomes support greater product development? What are you expecting to move on to following your usability research? Do you expect to conduct more research?
A well-thought-through usability testing plan sets you up for success by outlining the process in as much detail as possible. It limits confusion, encourages stakeholder buy-in, and ensures your usability testing has a strong foundation and direction.
One important aspect to consider that we’ve not yet mentioned is time—you want to include a timeline for your research project. It’s essential for keeping usability testing on track and in line with the rest of the product development process. Make sure to include a project timeline to ensure the project progresses as needed.
Why is it important to have a usability test plan?
A strong usability testing plan enables you to get more from your usability testing: it’s the often overlooked, but essential first step to conducting usability testing. It better prepares you for the usability testing process and research analysis, and ensures your testing aligns with the greater product development timeline.
Usability testing without a plan is a waste of time, money, and energy. Plus, you don’t have to overcomplicate it: your usability testing plan is proportional to your testing. If you’re only testing a few ideas or features, your plan is going to be a lot shorter than if you're testing an entirely new product.
With that in mind, let’s check out the must-have sections for your usability plan.
How to create a usability testing plan: the checklist
To ensure you’re on the right track for conducting productive usability tests, here’s our ultimate usability testing plan checklist:
1. Define your goals
In order to be successful with your usability testing, you need to know what it is you’re looking to uncover. It’s what will help you ascertain what usability testing method you need for actionable insights, how many participants you’re looking for, and how you’ll analyze research findings.
Clear, specific goals give your usability testing direction. Without direction, you run the risk of meandering usability testing that produces unactionable insights, or worse—inaccurate insights which lead to poor product decisions.
2. Outline logistics
A lot of planning goes into successful usability testing—it’s a challenge when done well, but if it’s done poorly, it quickly becomes a logistical nightmare that can derail the rest of your product development process.
You’ll likely have project-specific questions about the logistical side of your usability testing process, but some good starting questions to consider are:
- What are the start and end dates of the project?
- How many team members are involved?
- How will you recruit participants?
- Do you require a physical premise to conduct research?
- What equipment or tools will you need? (More on this next)
- How long will each step of the process take?
3. Consider what tools you’ll need
Do you require any additional usability testing tools or software to get the job done? This doesn’t necessarily mean tools directly related to usability testing—it can also include note-taking software, video conferencing tools, project management platforms etc.
It’s essential to be prepared for the testing process, and part of that is ensuring you’ve got all the tools you need. Here’s a look at some of the software this could include:
- Zoom: for video conferencing
- Airtable: for project management
- Maze: for remote usability testing and continuous research
- Notion: for taking notes
- Uxcel: for educating the rest of the team on what you’re doing
There’s endless tools out there, so consider your options and trial different software until you find one that works for your team and project.

4. Determine the format
The format your usability testing takes depends on what you’re looking to uncover. Different usability testing formats produce vastly different insights, so consider your needs when deciding what usability testing method works for you.
Consider the following factors:
- Quantitative or qualitative: the type of research you conduct defines the insights you’ll get back. Quantitative data is objective, numerical data from usability testing, whereas qualitative research aims to understand the motivations, thoughts, and attitudes of your users. The most effective and insightful research uses a combination of both types of data, for a well-rounded review.
- In-person or remote: both in-person and remote usability testing have their advantages and disadvantages—in-person testing takes participants out of their natural environment, but gives you more control over the testing conditions. Remote testing provides real-life context, but can make it harder to control environment-based biases. Bear in mind that almost all research and usability methods can be conducted remotely, regardless of method or moderator.
- Moderated or unmoderated: finally, decide whether researchers will be present during testing (moderated) or whether the participants will be alone (unmoderated). Some usability methods like interviews require the researcher to be present, but it’s worth remembering that—although unintentional, researchers can create cognitive biases in research.
Some of these decisions will be made for you by default—if you’re testing a bicycle, it makes sense to do in-person testing; if you’re looking to research with people from multiple countries, this lends itself to remote testing. Whatever you decide on, include it in the usability testing plan.
Learn more 💡
Check out our recommendations for 11 usability testing templates to get started right away.
5. Determine your sample size
Once you’ve got an idea of what you’re looking to uncover and how you’re going to do it, you’ll have a better idea of how many participants you need.
Depending on your methods, ‘go big or go home’ isn’t always the best advice—consider user interviews, for example. You can get deep, valuable insights, but trying to analyze and cross-examine results from 30 interviews is a mammoth undertaking. While it might seem like you’re getting more insights, the marginal benefit of each research participant decreases dramatically past four or five participants. After a point, you’re likely not learning much more with each additional participant.
However, this isn’t the case for other usability testing methods. For example, most quantitative research methods benefit from more research participants—due to more data meaning more results, and a wider pool of statistics to review. This is the time that having 30+ participants is ideal.
6. Write tasks that match your goals
Your usability tasks are the actions you’ll get research participants to perform during usability testing. The participants’ success in completing tasks indicates how usable your product is. These tasks come in two main forms:
- Exploratory tasks: these are open-ended tasks that don’t have a right or wrong answer. They help answer broad research questions and look at how users expect to find information in products.
- Specific tasks: these tasks usually have a right or wrong answer, and look at how to perform a specific task, and how easily users can do this.
Asking the right questions gets you the most actionable answers—you want to ensure that the type of test you run gets the answers you need, so make sure your usability testing script is clear and specific to your goals.
7. Decide your evaluation metrics
Conducting usability tests is part of the challenge—the other half is deriving actionable insights that help answer your research questions and goals. It’s essential you consider what success looks like before you begin usability studies, including specific statistics and data you want to collect.
Here are some of the qualitative and quantitative metrics you can consider evaluating:
- Time-on-task: how long does it take for participants to complete a usability task? If it’s taking participants too long to complete a task, you probably need to make changes to the UX/UI.
- Likes, dislikes, and recommendations: direct insights into what participants thought and felt about the usability of your designs. These give great qualitative insights into what’s working and what’s not.
- Critical errors: these are errors that impact the success of the usability task. Whether aware or not, these errors prohibit participants from successfully completing the task. Critical errors indicate what definitely needs changing.
- Non-critical errors: these are minor deviations from the usability test goal, like navigating to the wrong tab or scrolling past the required action. These non-critical errors indicate where improvement can be made to ensure usability is optimized and efficient.
- Error-free rate: the percentage of participants that complete the usability task with no errors whatsoever; think of this as a north star metric.
- Successful task completion: this is the percentage of tasks that are successfully completed by participants overall, regardless of how they got there.
You don’t want to reach the end of the testing process to find you’ve got no idea how to handle the results. Defining your results evaluation methodology upfront helps ensure you’re able to extract valuable insights from your usability testing research.
Heads up 💡
Want to find out more about usability testing and analysis in action? Check out these five real examples of usability testing.
8. Incorporate a pilot test to get feedback
It’s a good idea to plan a pilot usability test—a rehearsal with someone from your organization. Make sure your pilot participant has had no part in the usability testing process so far, otherwise you risk enacting false-consensus bias—you want someone who is coming in with about the same level of knowledge as an exterior participant, otherwise your pilot will be inaccurate.
Conducting a pilot test helps improve the process, refine your tasks and questions, and identify any issues with your current testing setup. What may seem simple to you can cause complications for participants as they’ve got relatively little information to work with, so a pilot session is non-negotiable.
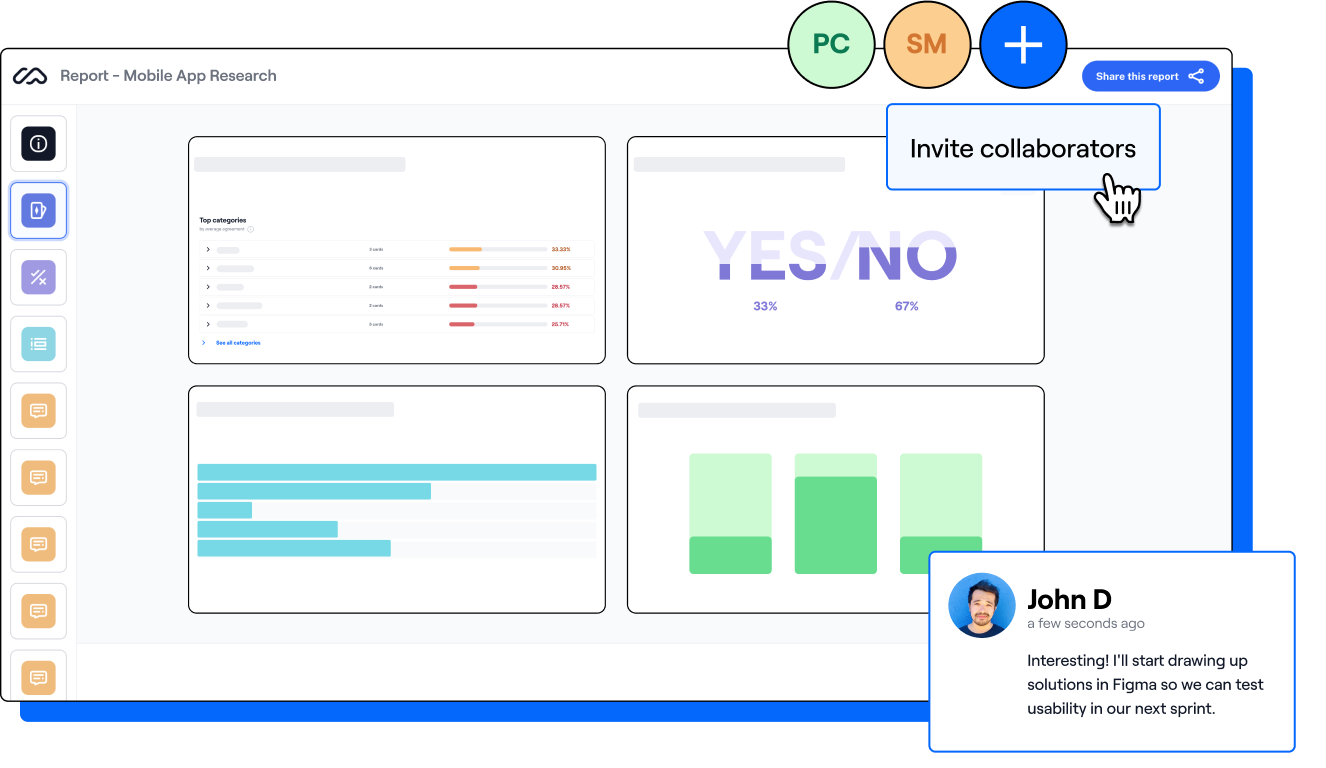
9. Develop a usability report
A usability report lays out the findings from your usability testing and what you can learn from them. This report can then be shared with relevant teams to update them on findings for current and future projects. After all, insights are useful across the organization—not just in product development.
Your usability report should include a variety of details from the usability testing process—not just the results. Include details that provide context and accurately communicate the time, effort, and energy that goes into successful usability testing. This report isn’t just about sharing results, it’s also about ensuring everyone understands the importance and impact of user research.
10. Outline the next steps
Now your test is done, it’s important to define what needs to happen next. Your aim is to uncover key insights, but acting on those insights is the truly impactful work. The specifics of your next steps depend on what exactly you’re looking to uncover with usability testing.
Your next steps should include details on the actions to be taken, which team and team members are required, and when they need to be actioned by. This ensures you’re not assigning tasks last minute and gives everyone an idea of what’s expected of them in advance—even if you don’t have the details quite yet.
The benefits of creating a usability test plan
Following these steps will ensure you’re on the right track for your usability test. While it might seem daunting, there’s a huge amount of benefits to having a usability plan before kicking off your testing.
It guides the usability testing process: a plan guides the process and reduces the mental load of conducting usability testing. Having the process written out in front of you makes it easier to identify what needs to be done, and ensures all team members are on the same page at all times.
It enables you to identify issues before they occur: you’ll likely find yourself asking ‘How are we going to make this happen?’ a lot. It’s a lot easier to answer this question (and others!) ahead of time, instead of during the user research process. Plans anticipate issues in order to address them in advance.
It fits into a wider product development plan: everything has its place and purpose, and usability testing needs to fit in with other research and development plans and timelines. A plan helps you to orchestrate this and provide context.
It allows for better usability testing: it’s undeniable that a well-planned usability test delivers better results than one without defined goals, metrics, and methods. Having a plan to refer back to helps you then turn your focus to what matters: the usability testing itself.
Best practices for creating a usability testing plan
Through the entire usability process, it’s also worth considering some usability testing best practices to ensure your research is ethical, efficient, and effective.
Developing your plan with these best practices in mind helps ensure your testing process runs smoothly and gathers accurate, actionable insights. Ultimately, you’ll create the plan that works for you—but these tips will help keep you on track:
- Prioritize diversity and inclusivity: a diverse group of research participants ensures the insights you’re gathering (and ergo the product you’re building) reflects a varied group of opinions and experiences. This includes having people of different abilities, demographics, usage behaviors, market segments, and more.
- Get participant consent: it’s essential that research participants give consent to the terms of the usability testing session, whether that be consent to being recorded or consent to having insights and data on them stored.
- Keep it interesting (read: short): usability tests rely on your participant's ability to concentrate on the task at hand. The longer they spend on the test, the less accurate your insights will be. Stick to a maximum of eight takes to keep users focused.
- Trial run your usability test: dress rehearsals exist for a reason—they help identify weaknesses before the big day. The same goes for research. Ask a colleague—ideally from another team—to take part in a pilot test to check everything runs smoothly.
Usability testing plans are a must
A usability testing plan is no different than any other research plan. It should inform, guide, and organize your research in order to ensure you return actionable insights that enable you to improve your designs.
To wrap up this chapter, consider this quote from writer and thinker, Dale Carnegie:
“An hour of planning can save you 10 hours of doing.”
Share
Is the time you save by not planning worth the hours you lose to unexpected issues—or worse, redoing usability sessions due to ineffective results?
The first step of any process should always be to plan, and usability is no different: a good usability testing plan develops ideas, structures the process, and makes for a more meticulous approach, ultimately delivering you more impactful, actionable insights to shape your product decisions.


Frequently asked questions about usability testing plan
What is a usability testing plan?
What is a usability testing plan?
A usability testing plan outlines the details of a usability testing process, including information on the goals, methodologies, participants, tools, and more.
How do you create a usability testing plan?
How do you create a usability testing plan?
There are 10 steps to creating a usability testing plan:
- Define your goals
- Outline logistics
- Consider what tools you’ll need
- Determine the format
- Determine your sample size
- Write tasks to be completed
- Decide on your evaluation metrics
- Incorporate a trial test
- Include a usability report
- Outline the next steps
Ensuring you include all this in a usability test is key for success.
What should you include in a usability testing plan?
What should you include in a usability testing plan?
You should include all the key information relating to your usability testing process in your plan. This includes:
- Goals and test objectives
- Participants and methodologies
- Results analysis and interpretation
- Outcomes and next steps
Including information on all of these ensures you’ve got a comprehensive usability testing plan that can help guide and organize your testing process.